
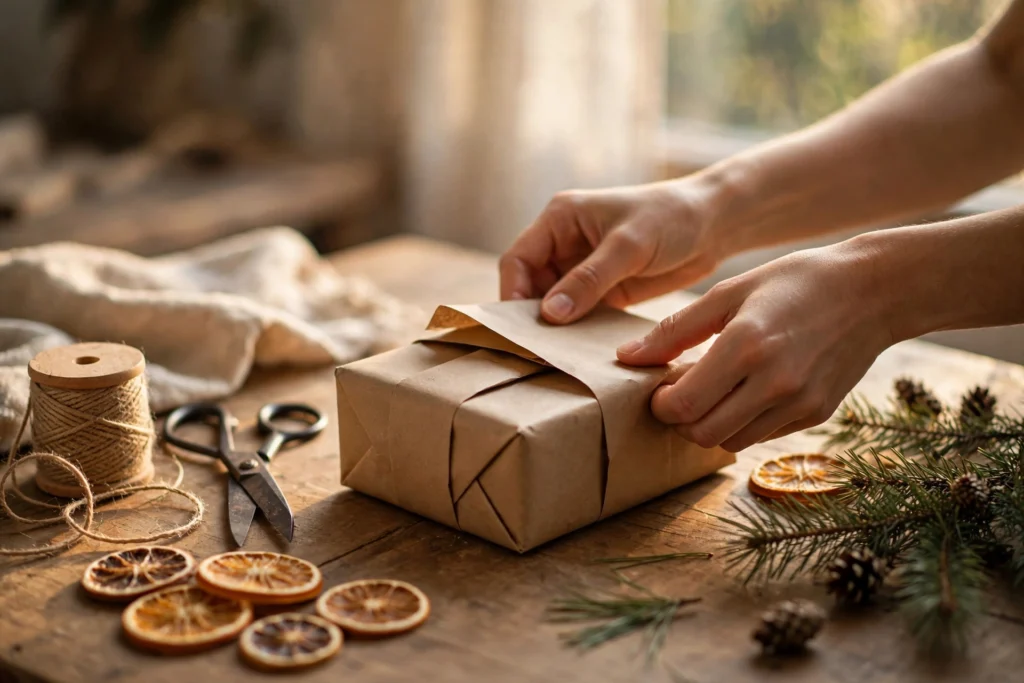
Somewhere in your closet, there is a crumpled roll of wrapping paper from last year, two pairs of scissors you can never find, and a box of gift bags you bought out of guilt. Every December, you stand in front of a gift and think the same thought: “I will just put it in a bag.”
And every December, you secretly wish you were one of those people who wrap gifts so beautifully that recipients feel guilty tearing the paper open.
Here is the good news: beautiful wrapping is not a talent. It is a handful of small, learnable moves — and you can master them in one afternoon, with paper you already own. Nobody needs to know how easy it was.
The Real Reason Pretty Packages Feel Better
Psychologists who study gift-giving have found something that sounds shallow but runs deep: the way a gift is wrapped genuinely changes how much the recipient likes the gift inside. In experiments, people rated identical gifts as more exciting, more thoughtful, and more valuable when they were wrapped neatly and beautifully. The brain reads a carefully wrapped box as evidence of effort, and effort feels like love.
Think about your own life. When someone hands you a gift wrapped in crisp paper with a proper bow, your brain starts building anticipation before your fingers even touch it. When someone hands you the same object in a wrinkled plastic bag, the magic arrives already slightly deflated. The gift did not change. The frame changed.
That is all wrapping is: a frame for generosity. And frames are easy to make.
The Five-Minute Foundation: Paper, Tape, and the Flip Trick
Every beautiful package starts with the same three boring decisions, made correctly once:
First, cut too much paper rather than too little. Most ugly wrapping comes from paper that barely reaches around the box, which leaves stretched, wrinkled corners. Unroll enough that the paper wraps around the box one full time plus a generous overlap — about two inches extra. You can always trim. You cannot stretch.
Second, double-sided tape. It is the single cheapest upgrade in all of gift wrapping. Regular tape leaves visible, crinkly seams that scream “I did this in the car.” Double-sided tape hides every seam, so the paper looks folded rather than taped. If you only ever buy one wrapping supply, make it this.
Third, the flip trick: after wrapping, place the box seam-side down. Whatever lumpy tape situation you created is now on the bottom, and the top of the box is a clean, unbroken canvas. Nine out of ten “how did they do that” moments come from this one move.
That is it. Paper, tape, flip. The foundation of every beautiful package is just three boring things done in the right order.

Corners Are Where Wrapping Is Won
If wrapping has an art form, it lives in the corners. And corners are a two-minute skill, not a gift from the heavens.
Start by tucking the loose flaps inward to make two crisp triangles — like hospital corners on a bedsheet. Then fold one triangle over the other and tape. The secret is creasing: run your finger firmly along every fold to make a sharp edge. Sharp edges are the entire difference between “homemade” and “handcrafted.” Wrinkles happen when paper is folded lazily; clean creases happen when you press with intent for three seconds.
For a genuinely impressive finish, try the tuck fold instead of the roll fold on one end. Fold the paper under itself twice before taping, and the raw cut edge disappears completely. It takes ten extra seconds and makes the ends look as tidy as the sides. Nobody will know you learned it today.
Add One Element That Isn’t Paper
Here is the thing the truly gifted wrappers understand: you do not need to wrap perfectly. You need to add exactly one element that isn’t paper, and everyone’s eye goes there instead.
A sprig of eucalyptus or rosemary tucked under the ribbon costs nothing and looks like it cost everything. A cinnamon stick tied on with twine. A single dried orange slice. A gift tag in actual handwriting (your handwriting, not a sticker) with the person’s full name. Fresh greenery on a box reads as “I thought about this” faster than any bow ever will.
The rule is simple: pick one thing from nature or one personal touch, and stop there. Restraint reads as taste. A box drowning in five ribbons and three stickers reads as panic.
Build Yourself a Wrapping Kit, Once
The reason wrapping feels stressful is that every December you are hunting for supplies. Fix that once, and the problem disappears for years.
Grab a shoebox or a cheap tote bag and fill it with: double-sided tape, one pair of sharp scissors (wrapping-paper scissors stay with the wrapping supplies — this is a law), twine or ribbon in one neutral color, a stack of blank tags, and a pen that doesn’t smudge. Keep one roll of kraft brown paper on hand at all times. Kraft paper is the secret weapon of stylish wrapping: it is cheap, it goes with everything, it hides a multitude of wrapping sins, and when you add that sprig of greenery, it looks like a boutique did it.
Next December, you will not be hunting. You will be wrapping. And you might — against all previous evidence — enjoy it.
The Ribbon You Can’t Get Wrong
Store-bought bows have a way of looking like they escaped from a flower shop display. Instead, learn the one ribbon move that always works: lay your ribbon across the box, wrap it around, and tie it like a shoelace bow. That’s it. A simple shoelace bow in a neutral ribbon, snipped at an angle on the ends, looks intentional and elegant on every box. Cross it diagonally for extra style points — diagonal ribbon lines make a box look designed rather than decorated.
If bows intimidate you, skip the bow entirely and tie a flat knot with long tails. Then slide your sprig of greenery or your cinnamon stick under the knot. Done. Beautiful. Nobody can tie this wrong.
Practical Takeaways
- Cut more paper than you think you need, hide the seam with double-sided tape, and always flip the box seam-side down.
- Crease every fold sharply with your finger — crisp edges are the whole difference between homemade and handcrafted.
- Try the tuck fold on one end of the box to hide raw cut edges in ten extra seconds.
- Add exactly one non-paper element: greenery, a cinnamon stick, a dried orange slice, or a handwritten tag. One element, not five.
- Build a permanent wrapping kit in a shoebox — double-sided tape, sharp scissors, twine, blank tags, a good pen — so next December starts with wrapping, not hunting.
- Keep kraft brown paper on hand year-round: it’s cheap, hides mistakes, and looks like a boutique did it once you add one natural touch.